We upgraded to a Blackstone Griddle. This is the story of our RV outdoor cooking makeover. This is a big improvement to our grilling. Really this article started as a how to use a Blackstone Griddle but that subject was pushed out to a different article and this one is about how we became Blackstone Griddle converts.
Slow to accept and fix the problem
Like most people, we have owned several grills over the years. Most of them are not suitable for full-time RV travel. They were too big. This includes the following grill which was too big. The final straw was when it blew over in the wind causing parts to fly. Thankfully when it crashed it was not being used. As for storage, we would put this grill in the RV first and then store soft items on top of the grill. As far as the wind goes, it was that one night when I left the grill out that it tipped over in the wind and didn’t survive the fall.
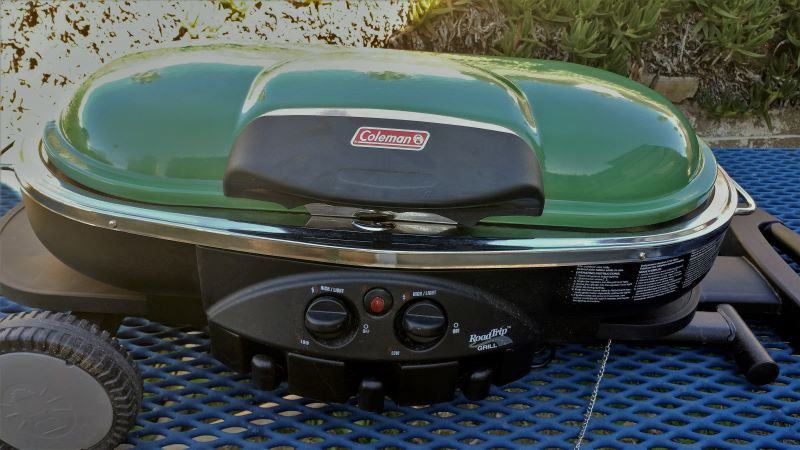
As you can see, it really is a nice grill and in this picture, it was nearly new. It also had one side that had a solid surface to cook on and the other side was the grill side. We really liked it after we figured out that the design had water trays inside the grill. The idea was that grease would drip into the water trays and this would make cleaning the grease out of the bottom of the grill easier. It worked the grease fell into the water and then after it cooled, all you had to do was pour the water grease mixture into the fire pit.
Sous Vide
The story doesn’t go in a straight line. I have a friend who was (in his youth) a professional chef. He recommended sous vide. Real professional chefs might not need such a device but for us, the sous vide has made a huge impact on how we cook things. You might not have heard of this kitchen gadget but to continue the story using the sous vide can help me make super tender meat just like or maybe even better than you can get at a fancy restaurant.
The next picture is our sous vide cooker slow cooking a tri-tip roast in the kitchen. Notice the cooking temperature at 134 degrees and the cooking time of twenty-one hours. This will turn the tri-tip roast into a melt-in-your-mouth delight with perfect pink meat color.
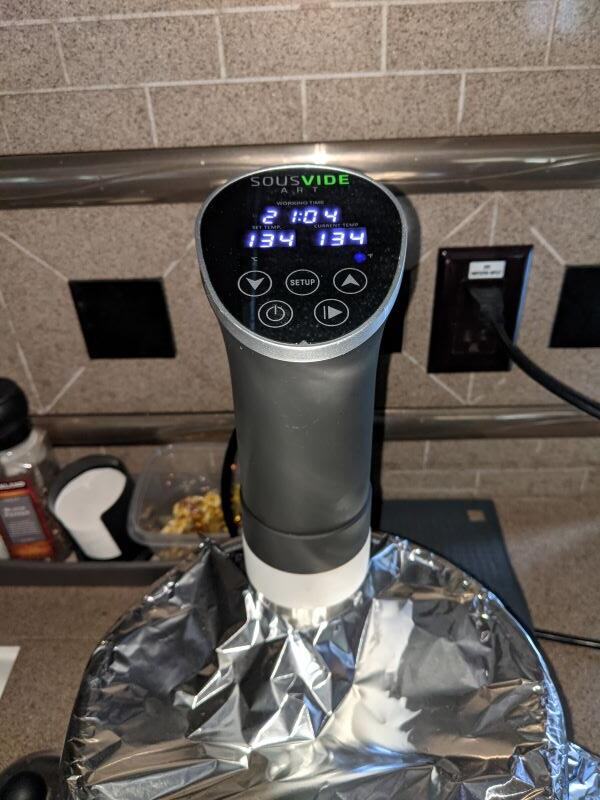
After cooking the roast in the sous vide the next step is to sear the outside of the roast at a very, high temperature on the grill.
Death by fire
Without describing the entire sous vide cooking process, this is what happened to one of my previous grills. All of the juice inside the meat is retained (including all the grease) during the sous vide cooking process. While I was searing the meat over the open flame, in less than one minute I had this result.
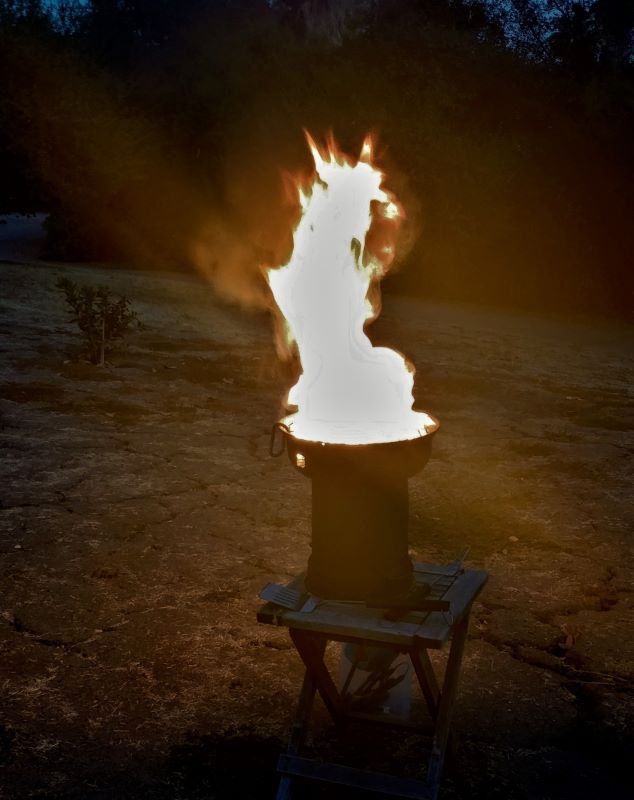
So I rescued the tri-tip from the fire and then placed the lid on the grill to extinguish the flame. This grease fire was so hot that it melted the paint finish on the outside of the grill. The next morning the entire grill had rusted and went straight to the dumpster.
Cast Iron
In keeping with the winding story. Last year, in an attempt to isolate the grease from the fire I started using a cast iron skillet on our small propane grill. This next picture is of a great meal that we cooked in the cast iron skillet.
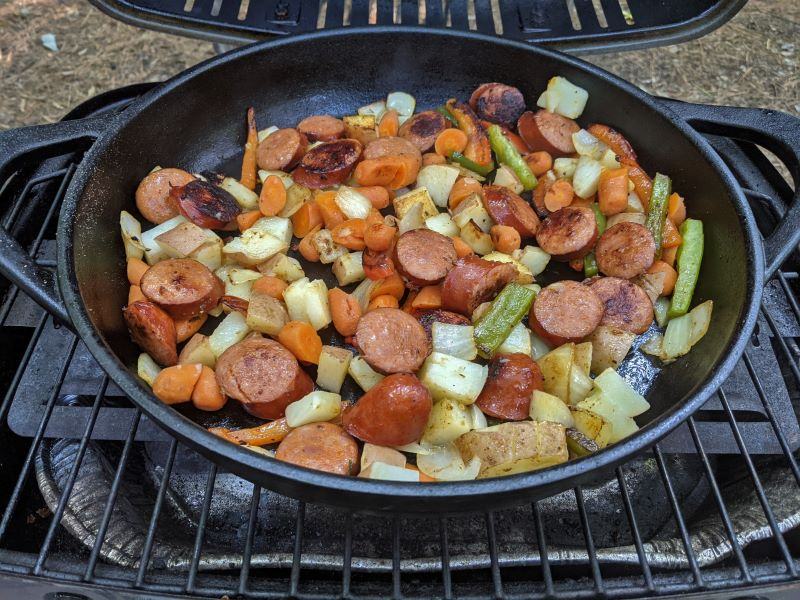
This grill was slightly more expensive than the one in the fire picture above. The results were not as exciting however gradually the paint didn’t hold up to the heat and more and more rust showed on the surface. It only lasted a year before it too was in the dumpster.
Replaced with a Weber
The following picture is of our new replacement Weber grill. We never used it. People really love these. For us, it was too big (tall) for our storage compartment. As for the Weber, it probably would have been a good long-term solution to too much heat melting the paint. The exterior isn’t painted but rather is porcelain enamel. It won’t rust because it is made from cast aluminum.

Since we never used it, I can’t comment on how it worked. Instead, we gave up on it while it was still new and converted instead to a Blackstone Griddle.
Blackstone Griddle
The Blackstone isn’t a grill, instead, it is a griddle. It replaces both my grill and my cast iron skillet. My last grill is gone. Again rust in a dumpster and I am still hanging on to the skillet. The Blackstone griddle has a flat cooking surface made from thick steel. The cooking surface sits on a box that includes a burner. The burner box is cool enough to use on our plastic end table without any concern about the plastic getting too hot.
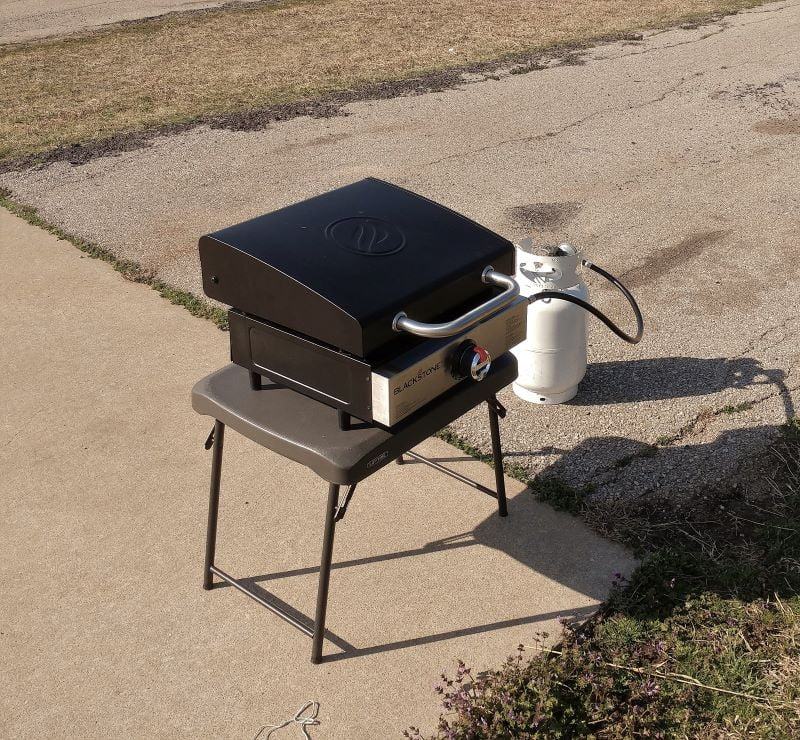
Two things separate our Blackstone from other available Blackstone Griddles. First, it has a built-in lid. Having any outdoor cooking option without a lid for us was a non-starter. The lid allows for higher temperatures and it protects the griddle surface when we are not using it. The other thing that separates our griddle from other Blackstones is the size. Our griddle is the smallest propane-fired Blackstone available. You can get an electric Blackstone but not an electric Blackstone with a lid.
Big enough
That is a question I have heard often. Is it big enough? Yes, I don’t have any issues with the size. For me the amount of room is ample.

Small enough
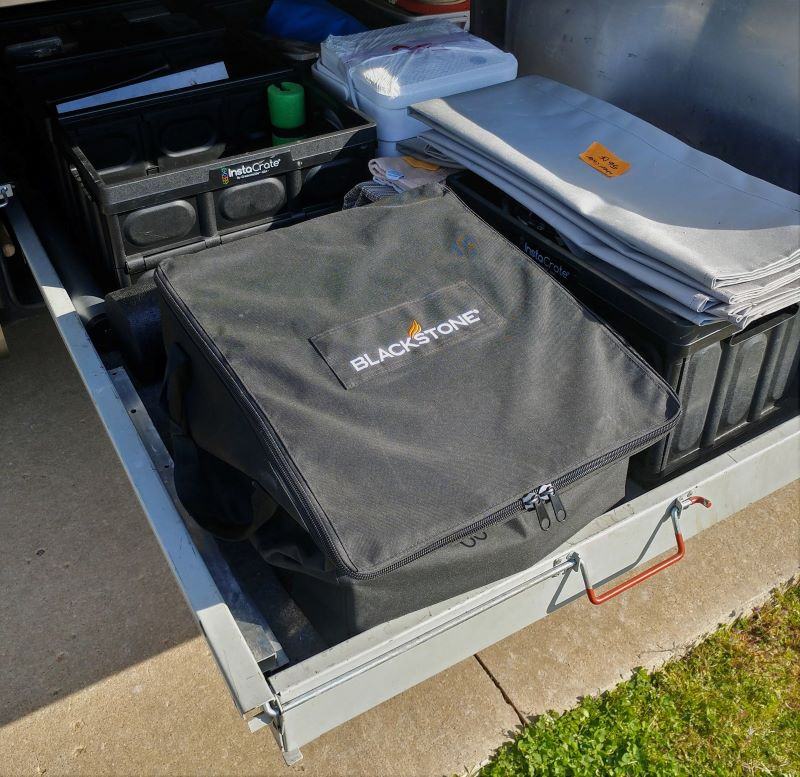
Yes, the Blackstone 17-inch is small enough to store nicely in our RV. Unlike the Weber pictured above it isn’t too tall to fit in our slide tray. Unlike the Coleman pictured above it isn’t too wide to fit in our slide tray. It is small enough that most of the time I don’t leave it out and of course since we take everything we have to every place we go, we dedicate part of our storage to the Blackstone.

The above picture is one where I am unpacking the Blackstone after arriving at our campsite. It is sitting inside its storage bag ready to move to either a picnic table (ideal) or our small end table.
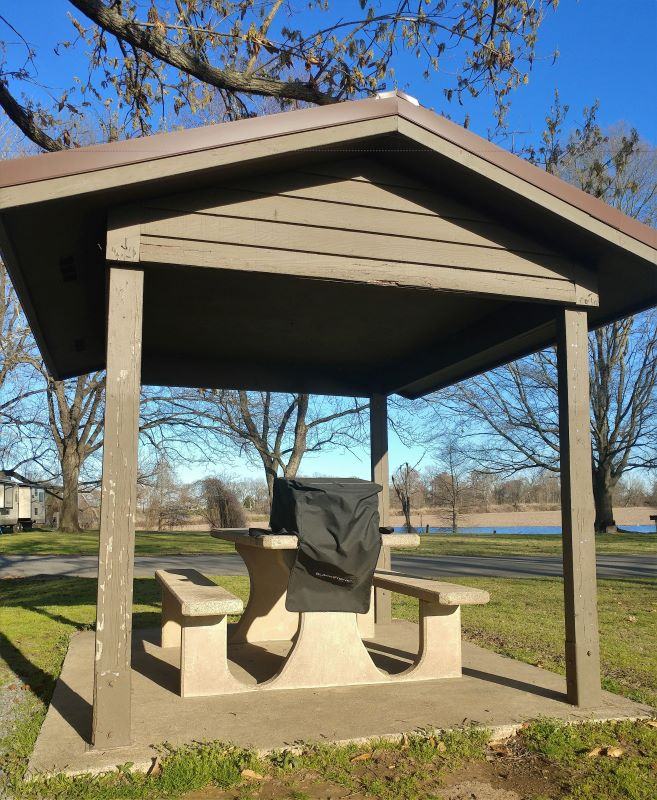
This next picture is our Blackstone all zipped into its storage bag ready for travel.
Construction
The Blackstone griddle comes in two basic sections. First, there is the firebox pictured below. Inside the firebox is the burner tube. The burner tube is configured to evenly space the heat across the cooking surface. The firebox is vented both on the back and bottom. At the front of the firebox is the control/ignition knob. To light the grill you rotate the knob which releases the propane and sparks the ignitor. If you don’t get a light, try again. The ignition has never failed after two or three tries even on a new propane bottle with an empty hose.

The top section of the Blackstone griddle is the cooking surface. Attached to the cooking surface is the hood which lifts to expose the cooking surface.

Instead of using one-pound propane cylinders we instead got an extension hose that connects the Blackstone Griddle to a portable propane tank. With a long extension hose, I could connect the griddle to my RV propane system. I won’t be doing that because the propane is on the wrong side of the RV and also I would hate to forget to turn the griddle off and lose 35 gallons of propane to a mistake.
How to use the Blackstone
As I mentioned in the first paragraph I will be covering how to use the Blackstone in a separate article. Here is a link to that article. Cooking on our Blackstone
Please subscribe and join us on our journey
We will add you to our email list and send you updates about once a week. Here is a link. Subscribe
Links
This is the griddle we got and this link is to the Blackstone website.
Blackstone 17-inch Griddle with Hood
About the Article and Links
The links above are freely provided. We do not get income or commissions. No, we don’t make paid endorsements. We don’t make recommendations but instead, we will tell you what we like (or dislike).
Just like the rest of the stuff on our blog, we hope that it helps you. We are so happy you find these articles worth your time.


We just replaced our Weber with a Blackstone. Haven’t traveled with it yet but excited for the prospects and it definitely fits in our rig better.
Your article sealed the deal, we love our new Blackstone.
The best grill by far. I’ve been using it for camping for three years now. I will not be going back to another bbq. I cook everything on it.